Using the Quick Access Button and Toolbar
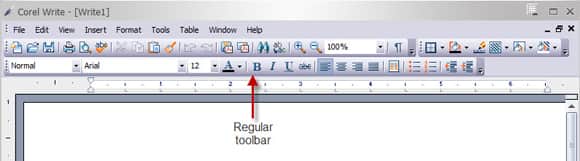
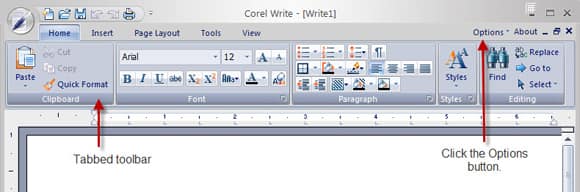
If you have previous experience with the new Ribbon interface in Microsoft Office 2007 products, you’re accustomed to using a central button for file control features. Corel Home Office has a simplified interface as well. The Quick Access button and toolbar are located in the top-left corner of the application window.
The Quick Access button (big button on the left) will be your new best friend because it gives you one-click access to the commands that you use over and over: Open, Save As, Send As, and Print. You also have the New, Save, Save All, Properties, and Close commands. Recently-opened files are shown in a side pane for easy access.
The Quick Access toolbar puts the most frequently- used file features together in one place. You can create a new document, open a file, save a file and print a file using the buttons on the toolbar. The Undo and Redo buttons are also found on this toolbar.
You can tailor the Quick Access toolbar to suit your style of working by adding any command found in a menu. Basic commands are shown with check boxes for quick removal/addition. Additional commands can be selected when you customize the toolbar.
To customize the Quick Access toolbar:
1. Click the Customize Quick Access Toolbar button (the down-facing arrow on the right side of the toolbar).
2. Click the check boxes to remove (or add) the current commands.
3. Choose More Commands to open the Customize dialog where you can select from a list of commands.
4. Select a command from the list. Tip: you can select a different menu from the Choose Commands From drop-down list.
5. Choose Add to add a button for the selected command on the Quick Access Toolbar.
6. Choose Close.